
All articlesdefect inspection
Building Defect Inspection Checklist: How to Prepare
Inspectra AI Team September 2, 2026 11 min read
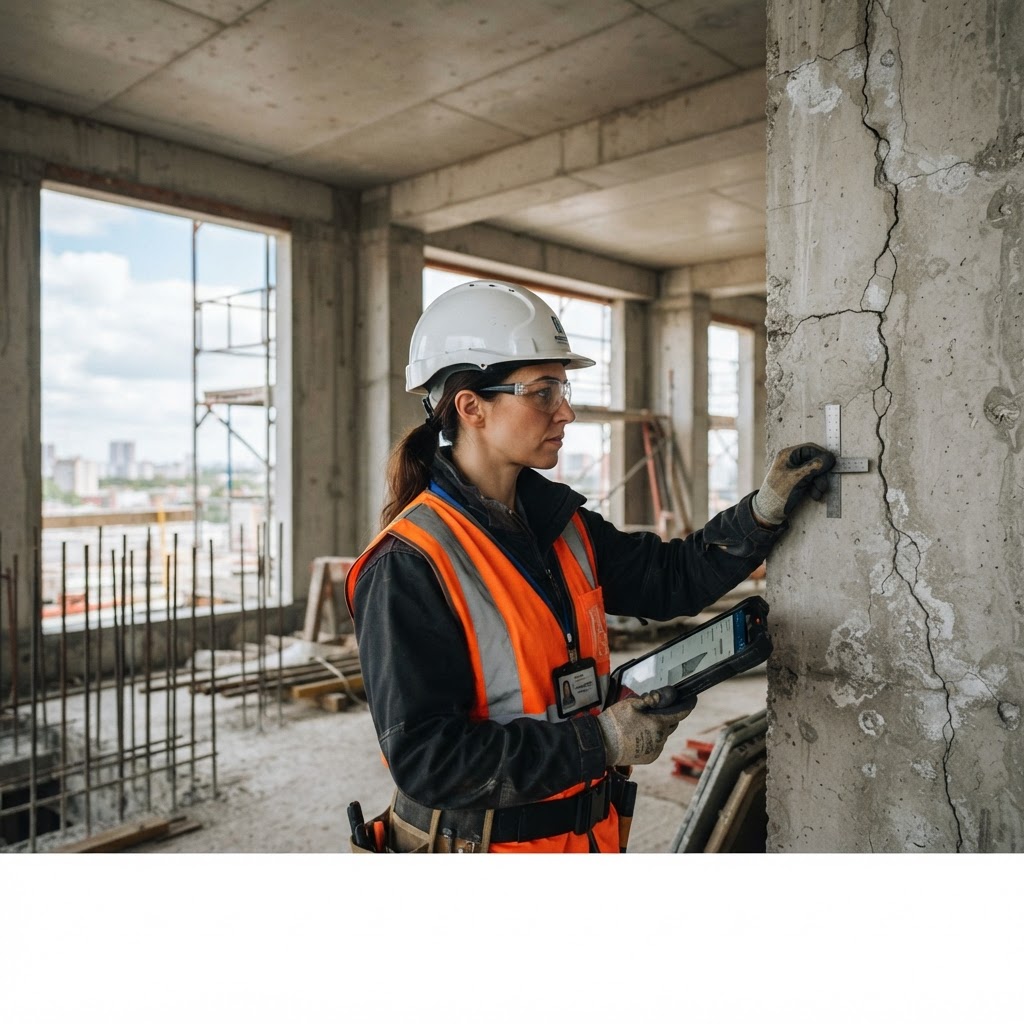
A building defect inspection is a structured assessment of a structure's condition, identifying faults ranging from cosmetic blemishes to safety-critical structural failures. Proper preparation — gathering documentation, pre-walking the site, and staging your tools — can cut inspection time by 30–40% and significantly reduce the risk of missed defects or disputed findings.
Most defect disputes — and most professional indemnity claims against inspectors — trace back not to what was inspected, but to what was missed. Missed defects typically occur because of poor site access, incomplete scope definition, or insufficient documentation review beforehand.
A 2022 survey by the Australian Institute of Building Surveyors found that over 60% of disputed inspection reports involved incomplete photographic evidence or failure to cross-reference approved drawings. In the UK, RICS data suggests that around one in five HomeSurvey Level 2 reports is queried by the instructing party, most commonly over omissions rather than errors of judgement.
The takeaway: time invested before you arrive on site pays dividends in report quality, defensibility, and client confidence.
Before preparing anything else, confirm exactly what type of inspection you are conducting and which standard governs it.
| Region | Standard | Scope | |--------|----------|-------| | Australia | AS 4349.1-2007 | Pre-purchase building inspections | | Australia | AS 4349.0-2007 | General inspection principles | | UK | RICS HomeSurvey Level 1–3 | Residential surveys | | UK | BS 8210 | Building maintenance management | | US | InterNACHI Standards of Practice | Home inspections | | US | ASTM E2018 | Commercial property assessments |
Scope creep is one of the most common causes of client dissatisfaction. If your engagement letter says structural only, confirm this in writing before the inspection date. If the client expects a full defect liability period (DLP) inspection — common in new construction in Australia and the UK — make sure your checklist covers all relevant trade packages, not just the primary structure.
Documentation review is where preparation begins. Aim to complete this at least 24–48 hours before the site visit.
Drawings and approvals
Previous inspection records
Contracts and warranties
Site-specific information
Annotate your checklist with any items flagged in previous reports or correspondence. These carry a higher probability of recurrence or inadequate remediation and warrant closer scrutiny on site.
A generic checklist is better than nothing, but a site-specific checklist is what separates thorough inspectors from average ones.
Start with a master template aligned to your applicable standard. Then adapt it by:
Structural elements
Weatherproofing and waterproofing
Services (scope-dependent)
Finishes and fitout
Safety and compliance
If site access permits, a 20–30 minute pre-walk before committing to a full inspection is one of the highest-value activities in your preparation toolkit.
Use the pre-walk to:
Arriving on site with the right tools — fully charged, calibrated, and ready — removes friction and keeps the inspection efficient.
| Tool | Purpose | Notes | |------|---------|-------| | Digital camera or smartphone | Photographic evidence | Minimum 12MP; GPS tagging enabled | | Moisture meter | Detect concealed dampness | Pin and non-invasive (capacitance) types | | Crack gauge / tell-tale | Measure crack width and movement | AS 2870 classifies cracks by width | | Torch / head lamp | Inspect subfloor, roof space, services | High-lumen rated | | Probe / screwdriver | Test timber for decay and softness | | | Binoculars | Inspect inaccessible roof areas | | | Level / spirit level | Check floor planes and wall plumb | | | Tape measure | Record dimensions, clearances | | | PPE | Dust mask (P2), safety glasses, gloves | Mandatory in many site environments |
Paper-based checklists are still used but introduce transcription errors and slow report turnaround. A mobile-first workflow — where photos, voice notes, and checklist items are captured in one tool and automatically linked to building elements — dramatically reduces report preparation time.
Inspectra AI converts your field-captured photos, voice notes, and observations into structured, professional draft reports on site, ready for your review and sign-off. This means you leave the site with a near-complete report rather than a folder of disconnected notes.
Inspections involving multiple parties — client representatives, builder's site managers, strata committee members — require clear communication of ground rules before the inspection begins.
Cover the following in a pre-inspection briefing (even a brief verbal one):
This briefing protects your professional liability and sets expectations that reduce post-report disputes.
Preparation does not end when the inspection begins. Systematic evidence capture is the bridge between field observations and a defensible report.
Platforms like Inspectra AI can automatically organise this captured data into report sections as you work, reducing the mental overhead of field documentation.
For a standard residential pre-purchase inspection, allow 1–2 hours of preparation: 30–60 minutes for documentation review and 30 minutes to prepare and check equipment. Complex commercial inspections or DLP inspections covering multiple trade packages may require a full day of preparation.
A defect liability period is a contractual timeframe — typically 12 months in Australian residential construction under the HIA or MBA contracts — during which the builder is obligated to rectify defects at no cost. DLP inspections require a comprehensive trade-by-trade checklist and must be completed before the DLP expires to preserve your legal rights.
In Australia, building inspectors must be licensed under the relevant state legislation (e.g., Queensland Building and Construction Commission, NSW Fair Trading). In the UK, RICS membership is the recognised professional credential for building surveyors. In the US, licensing requirements vary by state, but InterNACHI certification is widely recognised. Always verify local requirements before engaging or performing an inspection.
Yes, provided the photos are high resolution (minimum 12MP is recommended), geotagged, and date-stamped. Courts and tribunals in Australia and the UK have accepted smartphone photography as valid evidence in defect disputes, provided the documentation chain is clear and the inspector can attest to the circumstances of capture.
AS 2870-2011 (Residential slabs and footings) classifies cracks by width: hairline (less than 0.1mm) to severe (greater than 5mm). Cracks wider than 0.5mm in a masonry wall or slab typically warrant investigation and notation in a defect report. Structural cracks — particularly diagonal cracks at wall openings or stepped cracks in brickwork — should always be reported regardless of width.
AI-powered platforms can convert field photos, voice notes, and checklist data into structured draft reports, automatically categorising defects by element, severity, and remediation priority. The critical requirement is human review and approval before a report is issued — AI accelerates drafting but cannot replace professional judgement on causation, severity classification, or liability assessment.
A well-prepared defect inspection is more thorough, faster to execute, and far easier to defend than one conducted on the fly. The seven steps above — from scope confirmation through systematic evidence capture — represent the professional standard, regardless of whether you're inspecting a house in Brisbane, a flat in Manchester, or a commercial building in Chicago.
If you want to cut your report preparation time without cutting corners, start a free trial with Inspectra AI and see how structured field capture and AI-assisted drafting can turn a day of site notes into a polished, compliant report — with you firmly in the professional driving seat.