
All articlesroof inspection
Pitched Roof Inspection: A Complete Step-by-Step Guide
Inspectra AI Team October 6, 2026 10 min read
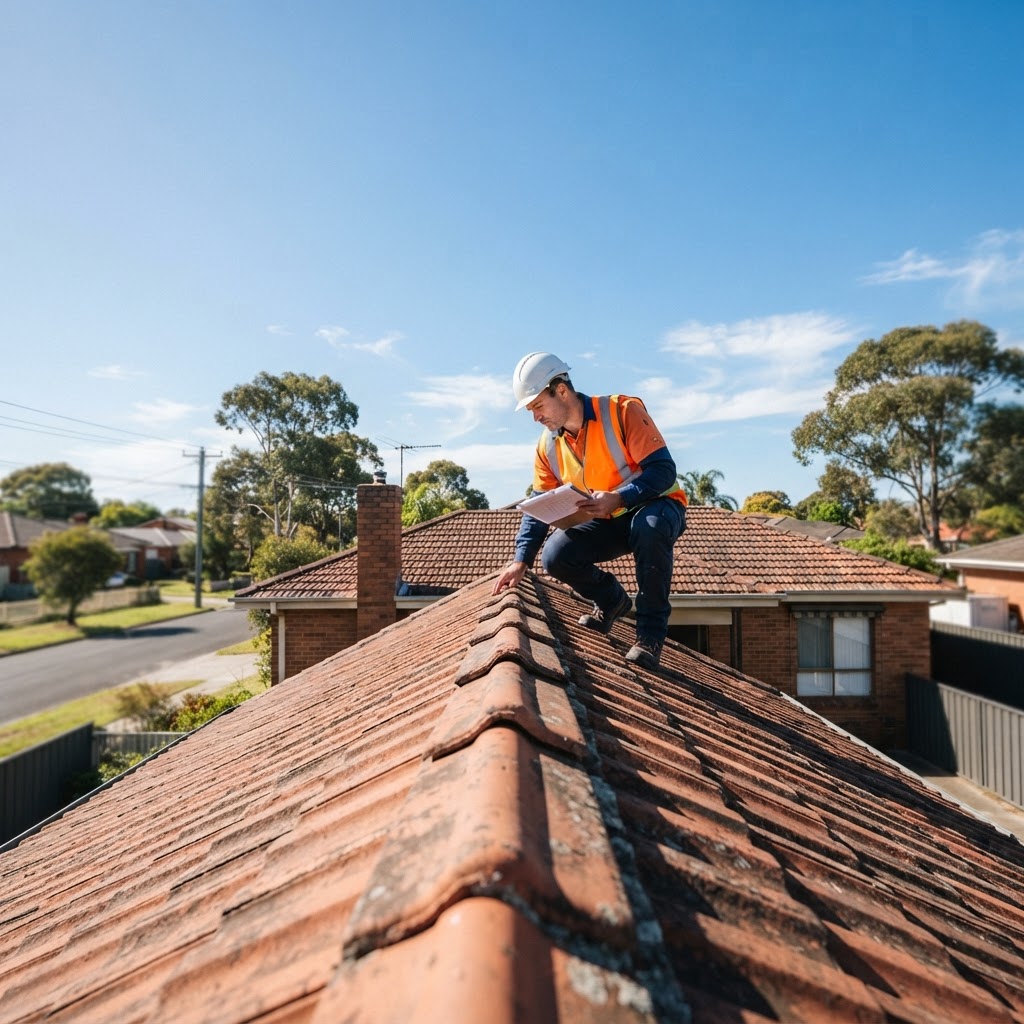
A pitched roof inspection involves systematically examining every component from the ridge line down to the gutters and fascia, identifying defects that affect weather resistance, structural integrity, and compliance. Done properly, it takes 45–90 minutes on a typical residential property and produces a defensible, photo-backed report.
A pitched roof is any roof with a slope greater than approximately 10°. Common types include gabled, hipped, skillion, and mansard roofs. Cladding materials vary widely — concrete or terracotta tiles, metal (Colorbond, Zincalume, standing seam), slate, and fibrous cement sheeting are all common in Australia, the US, and the UK.
Understanding the cladding type before you arrive determines your inspection method, the defects most likely present, and the relevant standards.
| Cladding type | Common failure modes | Key standard reference | |---|---|---| | Concrete/terracotta tile | Cracking, slippage, broken nibs | AS 2050, BS 5534 | | Metal (Colorbond/Zincalume) | Corrosion, fastener pull-out, oil canning | AS 1562.1 | | Slate | Delamination, nail sickness, slippage | BS 5534, InterNACHI SOP | | Fibrous cement | Cracking, moisture ingress, friable edges | AS 2908.2 |
Request any existing building plans, previous inspection reports, strata records, or insurance claims. A prior report flagging ridge capping issues tells you exactly where to look first.
Never inspect a wet or frost-covered roof. Wind speeds above 35 km/h (22 mph) are a practical cut-off for ladder or roof access. Check the Bureau of Meteorology (AU), Met Office (UK), or NOAA (US) forecasts the morning of the inspection.
Begin every pitched roof inspection from ground level, walking the full perimeter of the building. This gives you the overall roof profile, obvious sag or displacement, and a sense of which elevations have the most weathering exposure.
What to document at this stage:
Use binoculars or a drone to get close-up images without accessing the roof surface. Photograph each elevation systematically — north, south, east, west — and label images in your field app before moving on.
The ridge is the highest point of the roof and the first place water finds a weakness. Ridge capping (the mortar-bedded or dry-fixed cap units at the apex) is one of the most common failure points on tiled roofs.
Defects to identify:
Note for metal roofs: The ridge flashing on metal roofs should have a minimum 150mm upstand on each side (AS 1562.1). Check for lifted edges, failed sealant, and fastener corrosion.
Work methodically from the ridge downward, inspecting each course of tiles or each sheet run.
Flashings are the metal or flexible membrane components that seal junctions between the roof cladding and walls, chimneys, skylights, and penetrations. They are responsible for a disproportionate share of roof leak claims.
Valleys collect and channel the highest volumes of water on the roof. They are also the most common debris accumulation point.
Every penetration through the roof plane is a potential leak source. Inspect each one individually.
Chimneys:
Skylights:
Roof vents and plumbing penetrations:
The eave zone is where roofing, structure, and drainage intersect. Defects here can cause damage that extends into the wall framing.
Accessing the roof space from an internal manhole provides evidence of defects that are invisible from outside.
What to look for:
In Australia, sarking is mandatory in bushfire attack level (BAL) zones and cyclone regions under the NCC (National Construction Code). Note its absence in these areas explicitly in your report.
A professional pitched roof inspection report should classify defects by severity:
| Severity | Definition | Example | |---|---|---| | Critical | Immediate risk to safety or weather envelope | Structural rafter failure, large hole in cladding | | Major | Likely to cause damage if not addressed within 3–6 months | Multiple displaced tiles, failed valley flashing | | Minor | Maintenance item, low immediate risk | Isolated cracked tile, minor mortar pointing failure | | Observation | Noted for monitoring, no action required now | Surface moss growth, minor paint fade on fascia |
Every defect should be supported by a photograph with geolocation data, a description of the finding, its location on the roof, and a recommended action.
Platforms like Inspectra AI allow inspectors to capture photos and voice notes in the field and automatically generate a structured, compliant report — reducing post-inspection admin from hours to minutes. Start a free trial to see how it handles pitched roof workflows.
The general industry recommendation is every two years for residential properties and annually for commercial buildings. In addition, inspections should be conducted after any severe weather event — hail, high winds above 80 km/h, or heavy snow load. Roofs older than 20 years warrant annual inspections regardless of visible condition.
Not necessarily. A combination of ground-level observation with binoculars or a telephoto lens, drone photography, and internal roof space access can cover most of what a physical walk covers. If you do access the roof surface, use appropriate fall protection equipment compliant with your jurisdiction's WHS or OSHA requirements.
Failed or incorrectly installed flashings account for the majority of pitched roof leak claims, followed by cracked or displaced ridge capping. Valley blockages and penetration failures (around skylights and vents) are the next most frequent causes.
A standard residential pitched roof inspection takes 45–90 minutes on site, depending on roof complexity, number of penetrations, and accessibility. Report preparation adds another 1–3 hours using traditional methods, or 15–30 minutes using an AI-assisted reporting platform.
The primary standard is AS 4349.1-2007 (Inspection of buildings — Residential buildings), which sets out the scope and limitations of pre-purchase and condition inspections. Roof construction standards include AS 2050 (installation of roof tiles) and AS 1562.1 (metal roof sheeting). The NCC (National Construction Code) governs performance requirements for new and altered roofs.
Inspectors should note the suspected presence of asbestos-containing materials (ACMs) — such as pre-2003 fibrous cement tiles or ridge caps — and recommend further assessment by a licensed asbestos assessor. Inspectors should not sample, disturb, or test suspected ACMs unless they hold the relevant licence under Safe Work Australia (AU), HSE regulations (UK), or EPA/OSHA rules (US).
A methodical eight-step approach — ground observation, ridge, cladding, flashings, valleys, eaves, penetrations, and roof space — gives you complete coverage of a pitched roof without missing the defects that generate complaints and callbacks. Document every finding with photos, classify by severity, and reference the applicable standard.
If your current workflow means report writing takes longer than the inspection itself, it's worth looking at what AI-assisted tools can do. Start a free trial with Inspectra AI and see how quickly a pitched roof inspection can go from field photos to a finished, professional report.