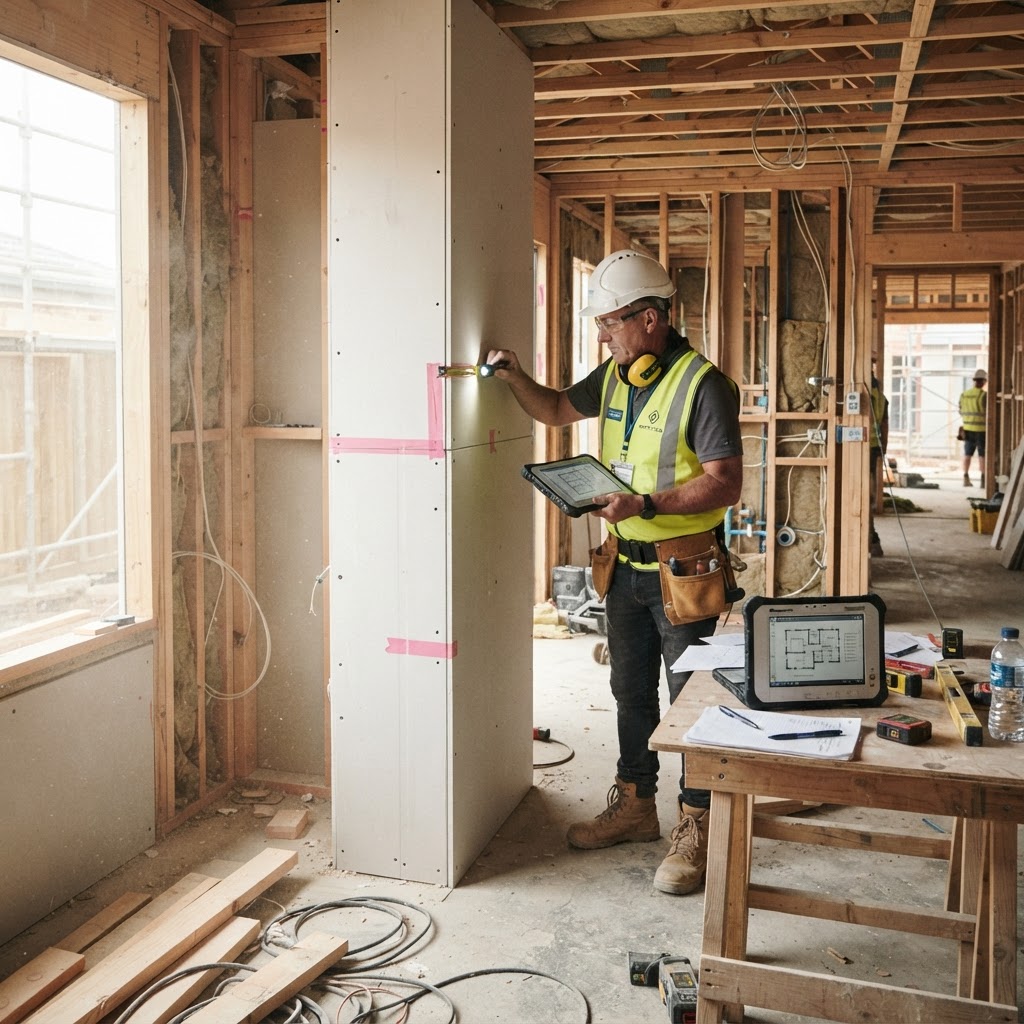
A construction site defect inspection is a structured process of identifying, recording, and classifying non-conformances in materials, workmanship, or installed systems before practical completion. Done correctly, it protects all parties from costly disputes, delays, and liability exposure down the line.
Key takeaways
- Defect inspections should be carried out at defined construction milestones, not only at handover.
- In Australia, inspections typically reference AS 4349.1-2007; in the UK, RICS guidance and NHBC Standards apply; in the US, InterNACHI SOP and ACI 318 govern structural concrete.
- A defect is classified as either a patent defect (visible) or a latent defect (hidden, emerging after completion) — both require different inspection strategies.
- Photographic evidence with GPS metadata and timestamps is the minimum acceptable documentation standard.
- AI-assisted reporting tools can reduce report turnaround from 24–48 hours to under 60 minutes.
Why construction site defect inspections matter
Construction defects are more common than most project stakeholders expect. A 2022 review by the Australian Building Codes Board found that over 40% of new residential buildings required rectification work within two years of completion. In the UK, the NHBC reports that drainage and waterproofing faults account for roughly 25% of all warranty claims in the first decade.
For field inspectors, property managers, and insurance adjusters, identifying defects at the right stage — not just at handover — dramatically reduces the cost and complexity of rectification. Early-stage defect identification costs an average of 1–3% of contract value to fix; post-completion defects can escalate to 10–15%.
Step 1: Define the inspection scope and applicable standards
Before stepping onto site, clarify what you are inspecting and under which regulatory framework.
Identify the construction stage
Defect inspections are typically conducted at the following milestones:
| Stage | What to inspect |
|---|---|
| Slab / substructure | Concrete flatness, reinforcement cover, waterproofing membrane |
| Frame | Structural alignment, bracing, tie-down connections |
| Lock-up | Windows, doors, external cladding, roof covering |
| Pre-plaster | Internal framing, insulation, rough-in services |
| Practical completion | All finishes, fixtures, services, drainage |
Confirm the applicable standard
- Australia: AS 4349.1-2007 Inspection of Buildings and the relevant National Construction Code (NCC) volume.
- UK: RICS Home Survey Standard (2021), NHBC Standards Chapter 1.1, and BS 8000 workmanship standards.
- US: InterNACHI Standards of Practice, ACI 318-19 for concrete, and applicable local building codes.
Document the standard version in your inspection report — this matters in dispute resolution.
Step 2: Prepare your inspection kit and checklist
A defect inspection without a structured checklist is a liability. Preparation takes 30–60 minutes but prevents critical omissions.
Essential equipment
- Digital camera or smartphone with geotagging enabled
- Laser or digital level (tolerance reference: ±3 mm over 1800 mm per AS 4349.1)
- Moisture meter (acceptable range for timber framing: below 15% MC in most Australian climates)
- Crack gauge or feeler gauges (structural crack threshold: >0.2 mm for concrete per AS 3600)
- Tape measure and spirit level
- Inspection torch
- PPE: hard hat, hi-vis vest, steel-cap boots
Build a stage-specific checklist
Your checklist should map directly to the construction stage. A practical completion checklist for a residential build typically covers:
- External works: paving, fencing, landscaping grading, stormwater outlet locations
- Roof: tile/sheet fixing, flashing, ridge capping, valley gutters
- Facade: cladding alignment, sealant joints, window and door operation
- Internal finishes: plasterboard joins, cornice, skirting, floor coverings
- Wet areas: waterproofing, tiling, grout consistency, fixture operation
- Services: switchboard labelling, GPO testing, hot water system commissioning
- Drainage: fall gradients, inspection openings, overflow relief gully
Step 3: Conduct the site walkthrough systematically
Random inspections miss defects. Use a zone-by-zone, top-to-bottom approach.
Establish a walkthrough sequence
- External perimeter — Start outside. Assess drainage fall away from the structure (minimum 1:100 gradient per AS/NZS 3500.3), facade condition, and roof from ground level.
- Roof space — Check insulation installation, roof framing connections, sarking condition, and any signs of moisture ingress.
- Level by level, room by room — Work from the top floor downward. In each room: ceiling, walls, floor, windows, doors, fixtures.
- Subfloor or basement — Check for moisture, ponding, and structural member condition.
- Services — Test electrical circuits, plumbing under pressure, HVAC operation, and fire detection systems.
Classify defects as you go
Use a consistent classification system:
| Class | Definition | Example |
|---|---|---|
| Critical | Safety risk or structural non-conformance | Missing tie-down bolts, exposed live wiring |
| Major | Significant impact on amenity or weatherproofing | Failed wet area waterproofing, cracked structural slab |
| Minor | Cosmetic or minor workmanship issue | Paint holidays, hairline plaster cracks |
AS 4349.1 distinguishes between major defects (likely to affect structural integrity or habitability) and minor defects (cosmetic). The NCC and NHBC use similar tiering. Consistent classification prevents disputes about rectification priority.
Step 4: Document every defect with evidence
Documentation is where inspections succeed or fail in a legal or insurance context.
Photography standards
- Capture a context shot (showing where the defect is on the building) and a close-up shot (showing the defect detail).
- Enable GPS and timestamp on every image.
- Include a scale reference (tape measure or coin) in close-ups of cracks or gaps.
- Aim for a minimum of 2 photos per defect item.
Written defect descriptions
Each defect entry should include:
- Location — specific (e.g.,