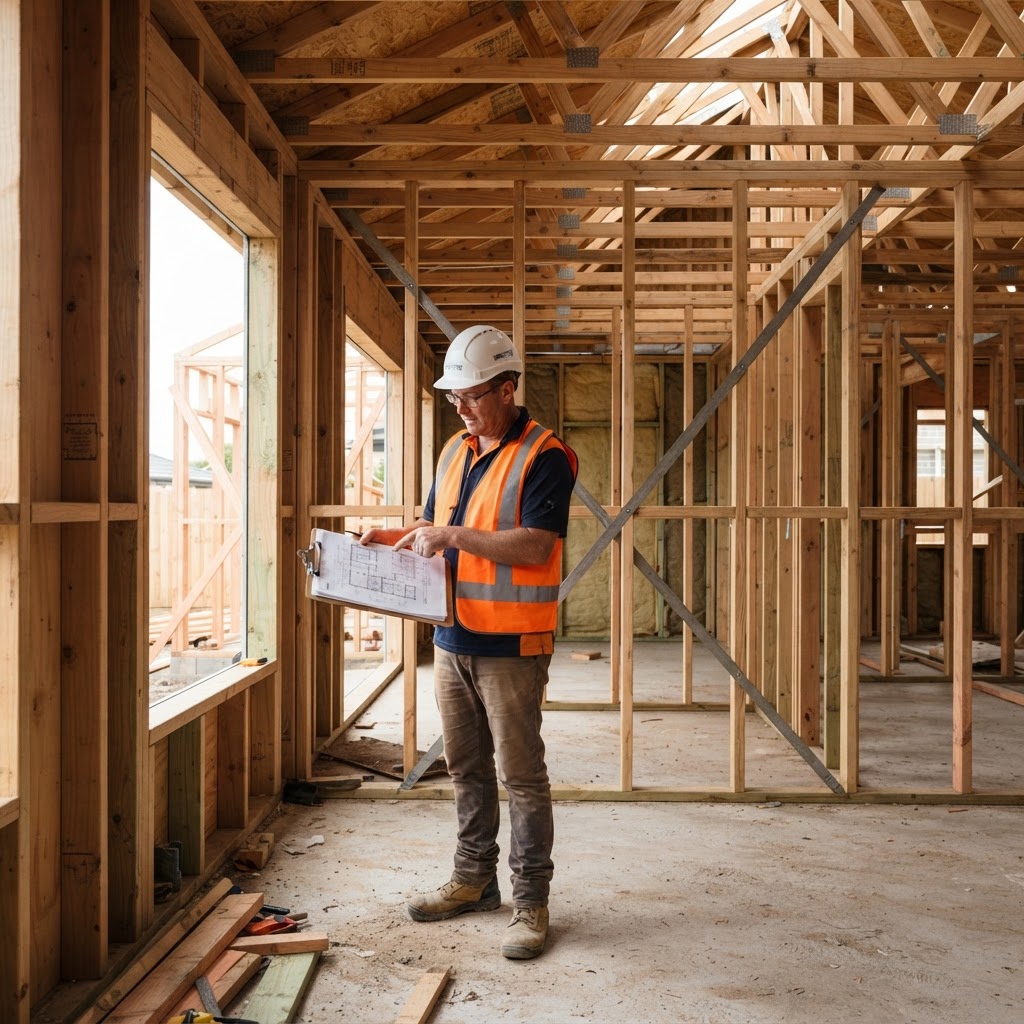
A construction site progress inspection is a structured assessment conducted at defined milestones during a build to verify that work meets approved drawings, specifications, and relevant standards before the next stage begins. Catching defects at slab stage costs a fraction of what it costs to rectify them at lockup. Done well, progress inspections protect all parties — builder, client, lender, and insurer.
Key takeaways
- Progress inspections should align with construction stages: slab, frame, lockup, fixing, and practical completion.
- In Australia, inspections are typically governed by AS 4349.1-2007 (residential) and the National Construction Code (NCC); in the UK, NHBC Standards apply; in the US, inspectors often follow InterNACHI SOP.
- Defects identified before concrete pours or wall cladding are orders of magnitude cheaper to fix than post-completion rectifications.
- Every inspection should produce a dated, photographic report with referenced non-conformances — not just a verbal tick-off.
- AI-assisted platforms like Inspectra AI can convert voice notes and site photos into structured, professional reports in minutes.
What Is a Construction Progress Inspection?
A construction progress inspection (also called a stage inspection or drawdown inspection) is a formal site review carried out at key build milestones. Lenders commonly require them before releasing progress payments; building surveyors or private certifiers may mandate them under the relevant building code.
Unlike a final handover inspection, progress inspections are preventive — they intercept defects while remediation is still straightforward and low-cost.
Who conducts them?
- Registered building inspectors or surveyors
- Private certifiers (Australia) or approved inspectors (UK)
- Third-party inspection firms engaged by lenders or owners
- Insurance adjusters assessing staged payments on large commercial projects
The Five Core Inspection Stages
Most residential construction projects follow five recognised stages. Commercial projects may add sub-stages depending on complexity.
| Stage | Trigger point | Key focus |
|---|---|---|
| 1. Slab / Base | Before concrete pour and after pour | Formwork, reinforcement, drainage, termite protection |
| 2. Frame | After frame is erected, before cladding | Timber or steel structure, bracing, tie-downs |
| 3. Lockup | After roof, windows, and external walls complete | Weatherproofing, flashing, window installation |
| 4. Fixing / Pre-plaster | Before wall linings installed | Plumbing rough-in, electrical rough-in, insulation |
| 5. Practical Completion | Before handover | All finishes, fixtures, compliance documentation |
Stage 1: Slab Inspection
Pre-pour checks
This is arguably the most critical inspection. Errors in the slab are expensive or impossible to rectify after the concrete is poured.
- Formwork: Dimensions match approved drawings; edges are straight and level within ±3 mm over 3 m (AS 3600 tolerance).
- Reinforcement: Bar size, spacing, and cover conform to the structural engineer's drawings. Minimum cover is typically 40 mm for slabs on ground in Australia.
- Waffle pods or fill: Correctly positioned; no voids under edge beams.
- Plumbing penetrations: Sleeves installed; no pipes cast directly in concrete without protection.
- Termite management: Ant capping, chemical barrier, or physical barrier installed per AS 3660.1.
- Site drainage: No ponding water in excavation before pour.
Post-pour checks
- Surface finish is consistent; no cracking beyond accepted shrinkage cracking (hairline cracks under 0.3 mm width are generally acceptable).
- Slab levels checked with a digital level; variance greater than ±10 mm from design should be flagged.
- Adequate curing time observed — typically 7 days minimum before loading.
Stage 2: Frame Inspection
Structural timber or steel
Frame inspections should be completed before any cladding, sarking, or lining conceals the structure.
- Species and grade: Timber stamped with correct stress grade (e.g., MGP10, MGP12 in Australia).
- Spacing: Stud, rafter, and joist spacing matches drawings — typically 450 mm or 600 mm centres.
- Straightness: Studs plumb within 2 mm per metre; bowed members flagged for replacement.
- Connections: Joist hangers, hurricane ties, and hold-downs installed per manufacturer specs and AS 1684.2 (timber framing code).
- Bracing: Wall bracing installed at specified locations; bracing elements fully nailed.
- Notching and drilling: No unapproved notches or holes in structural members; penetrations comply with NCC Part 3.4.
Roof framing
- Rafter and truss layout matches engineering drawings.
- Ceiling battens installed at correct centres for plasterboard span.
- Roof tie-down system complete — particularly important in cyclonic regions (NCC Housing Provisions Part 8 for wind regions C and D).
Stage 3: Lockup Inspection
At lockup, the building is enclosed. This stage focuses on the building envelope — the primary barrier against weather and moisture.
Roofing
- Roof covering: Correct product installed; laps and fixings per manufacturer's instructions and AS 1562.1 (metal roofing) or AS 4654.2 (waterproofing membranes).
- Flashing: All penetrations, ridges, hips, and valleys flashed with compatible material; no bridging of cavities.
- Guttering and downpipes: Falls correct (minimum 1:500 to outlets); downpipe sizing adequate for roof catchment area.
- Sarking: Installed under tile or metal roofing where required by NCC climate zone.
External walls
- Cladding type matches specification; correct fixings used for substrate.
- Cavity drainage and weep holes present at base of brick veneer walls.
- Window and door frames square and plumb; head flashings installed above all openings.
- External door weather seals fitted.
Stage 4: Fixing / Pre-Plaster Inspection
This is the last opportunity to inspect concealed services before linings are installed. Do not skip it — defects in plumbing or electrical rough-in behind walls are costly to access post-completion.
Plumbing rough-in
- Pipe material and diameter match hydraulic drawings.
- Pressure test completed on water supply lines (typically 1500 kPa for 15 minutes).
- Waste pipe falls correct — minimum 1:40 for branch drains under AS/NZS 3500.2.
- Shower and bath waterproofing membranes applied and cured before tiling.
Electrical rough-in
- Cable type and conduit installation per AS/NZS 3000 (Wiring Rules).
- RCD (residual current device) circuits confirmed for wet areas and outdoor circuits.
- Switchboard location and size matches electrical design.
Insulation
- R-value of batts matches NCC energy efficiency requirements for the climate zone.
- No gaps, compression, or bridging; insulation continuous around framing.
- Vapour barrier installed where required.
Stage 5: Practical Completion Inspection
Practical completion (PC) is reached when the building is complete except for minor defects that don't prevent occupation. This inspection is the most comprehensive and should be conducted with a full defect checklist.
Internal finishes
- Plasterboard joints, cornice, and skirting: no cracking, gaps, or nail pops beyond acceptable limits (typically gaps under 2 mm and nail pops under 1 mm at PC).
- Paintwork: even sheen, no runs, holidays, or visible brush marks when viewed from 1 m in natural light.
- Tiling: grout consistent, no hollow tiles (tap test), lippage under 2 mm between adjacent tiles.
- Joinery: doors and drawers operate smoothly; no visible glue squeeze-out or scratches.
External
- Driveways and paths: levels drain away from building at minimum 1:100 fall.
- Retaining walls: adequate weep holes; no visible lean or cracking.
- Landscaping and turf: site clear of construction debris.
Compliance documentation
- Occupancy permit or certificate of occupancy issued.
- BASIX certificate (NSW) or equivalent energy compliance documentation signed off.
- Waterproofing compliance certificates for wet areas.
- Warranty documentation for appliances, roofing, and waterproofing.
How to Document a Progress Inspection
A verbal assessment is worthless in a dispute. Every progress inspection should produce a written report that includes:
- Project identification: Address, lot number, builder name, contract number, inspection date.
- Stage confirmed: Which stage is being assessed and whether the trigger conditions are met.
- Findings by trade or element: Each item assessed, whether it conforms, and if not, a clear description of the non-conformance.
- Photographs: Geotagged, time-stamped, and referenced to the finding they support. A photo without context is not evidence.
- Referenced standards: Cite the specific clause of AS 4349.1, NCC, or other standard that the non-conformance breaches.
- Reinspection requirements: Which items require sign-off before work proceeds.
Practical tip: Dictating observations on-site via voice note and capturing photos systematically is faster than typing in the field. Platforms like Inspectra AI process voice notes and photos into structured, referenced inspection reports — reducing report turnaround from hours to minutes.
Common Defects Found During Progress Inspections
| Stage | Common defect | Consequence if missed |
|---|---|---|
| Slab | Insufficient reinforcement cover | Corrosion, structural failure |
| Frame | Missing bracing | Non-compliant wind resistance |
| Lockup | Inadequate flashing at penetrations | Water ingress, mould |
| Pre-plaster | Unprotected pipe penetrations through plates | Fire and acoustic non-compliance |
| PC | Hollow tiles in wet areas | Tile failure, water damage |
Frequently Asked Questions
How many progress inspections are typically required on a residential build?
Most lenders and building contracts specify five stage inspections: slab, frame, lockup, fixing, and practical completion. Some contracts add a pre-slab inspection and a waterproofing-only inspection in wet areas, bringing the total to six or seven touchpoints on a standard house.
Can the builder's supervisor conduct the progress inspection?
In most jurisdictions the answer is no for formal certification purposes. A certifier or registered building inspector must be independent of the builder. However, builders routinely conduct their own internal quality checks at each stage — these are good practice but do not replace a third-party inspection.
What standards govern construction progress inspections in Australia?
AS 4349.1-2007 covers inspection of existing buildings; the NCC (National Construction Code) and relevant state variations set the performance and prescriptive requirements for new residential and commercial construction. AS 1684 governs timber framing, AS 3600 governs concrete structures, and AS/NZS 3500 governs plumbing. Inspectors should reference the applicable edition in their reports.
How long does a progress inspection take?
A standard residential stage inspection typically takes 45–90 minutes on-site. Report preparation adds another 1–3 hours if done manually. Complex commercial projects can require multi-day inspections across trades.
What happens if a stage inspection fails?
The builder is notified of non-conformances in writing. Work must not proceed to the next stage — and no drawdown payment should be released — until the specific items are rectified and a reinspection confirms compliance. Depending on the severity, the building surveyor may issue a notice of non-compliance or stop-work notice.
Do progress inspections cover defects that appear after handover?
No. Progress inspections confirm work at the time of inspection. Defects that emerge post-handover — such as settlement cracking or waterproofing failures under load — are covered under statutory warranty periods (e.g., 6 years for major defects in NSW under the Home Building Act 1989) and should be documented in a separate defect inspection.
Bottom Line
Construction progress inspections are not a formality — they are the most cost-effective defect-management tool available on any build. Each stage gate exists because the cost of rectification compounds exponentially once work is concealed or structurally loaded. A rigorous, documented inspection at each of the five core stages protects the owner's investment, satisfies lender and regulatory requirements, and gives the builder clear sign-off at each milestone.
If your current process relies on handwritten notes and manual report assembly, it is worth exploring how modern tools can reduce that burden. Start a free trial with Inspectra AI and see how quickly site photos and voice notes become a complete, referenced inspection report.