
All articlespre-purchase inspection
Pre-Purchase Property Inspection: A Best Practice Guide
Inspectra AI Team September 14, 2026 5 min read
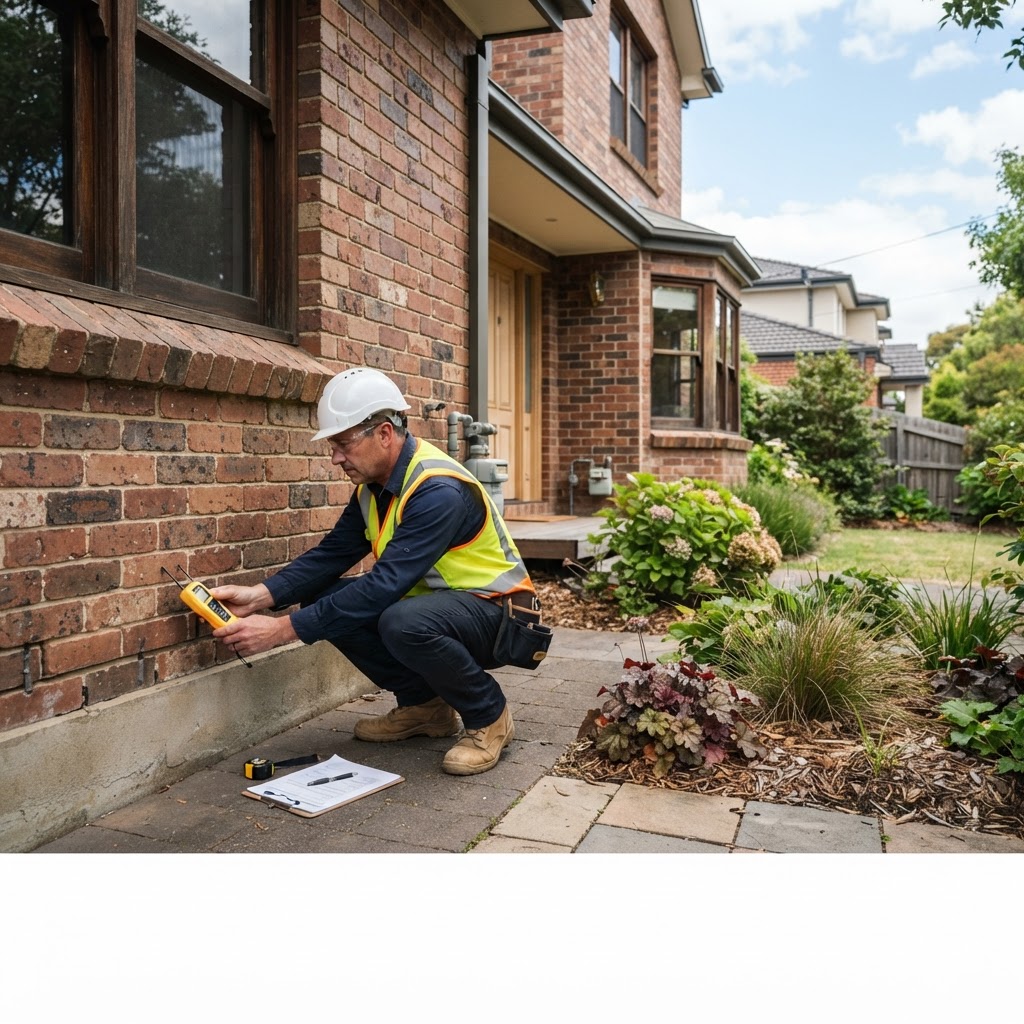
A pre-purchase property inspection is a systematic assessment of a property's condition conducted before a sale is finalised. Done properly, it gives buyers an objective, documented record of defects and risks — and gives inspectors a defensible, professional report. Cutting corners at any stage, from scoping to sign-off, exposes everyone to liability.
Many buyers — and some less experienced inspectors — assume a pre-purchase inspection is a quick walk-through. It is not. Under AS 4349.1-2007, a compliant residential building inspection must assess all accessible areas of the property and report on major defects, minor defects, and safety hazards.
The scope typically includes:
| Area | What to assess | |---|---| | Roof exterior | Cladding condition, ridge capping, flashings, gutters, downpipes | | Roof space | Timber framing, sarking, insulation, signs of water ingress or pest activity | | Subfloor | Bearer and joist condition, moisture, ventilation, pest damage | | Interior | Walls, ceilings, floors, doors, windows, stairs | | Wet areas | Waterproofing integrity, tile cracking, drainage | | Exterior | Cladding, damp-proof course, site drainage, paths, retaining walls | | Services (visual only) | Electrical switchboard condition, plumbing fixtures, hot water system age |
Note: A standard pre-purchase building inspection does not include invasive testing, structural engineering calculations, or specialist trades reports (e.g. electrical compliance, plumbing, pool safety). These require separate engagements and should be flagged in your scope-of-works agreement.
Request any council-approved plans, recent certificates of occupancy, or prior inspection reports before attending. Cross-referencing as-built conditions against approved plans identifies unauthorised structures — a common issue in Australian properties where unapproved pergolas, carports, or room conversions carry significant liability for the buyer.
In the UK, check the Land Registry title register for any noted encumbrances or building regulation completion certificates. In the US, check municipal records for open permits.
Before attending, issue a written inspection agreement that clearly defines:
Scope disputes are one of the most common causes of post-inspection complaints. A signed agreement protects both parties.
A professional pre-purchase inspector should arrive with:
Random walk-throughs lead to missed items. Use a consistent sequence — exterior perimeter, roof exterior, roof space, subfloor, then interior room by room — so nothing is skipped under time pressure. This mirrors the methodology recommended in the InterNACHI Standards of Practice and is consistent with AS 4349.1 guidance on systematic assessment.
Capture condition photos of every major element, not just problem areas. This serves two purposes:
Minimum photo standards for a defensible report:
Under AS 4349.1, defects are classified as:
Misclassifying a major defect as minor is the single most common source of professional indemnity claims against building inspectors in Australia. When in doubt, classify higher and explain your reasoning in the report.
Water damage is consistently the highest-cost defect category in pre-purchase inspections. Use a moisture meter on all wet area walls, subfloor timbers, and any area showing staining or discolouration. A reading above 17% MC (moisture content) in timber is a threshold for concern and should be documented with the specific reading, not just described as